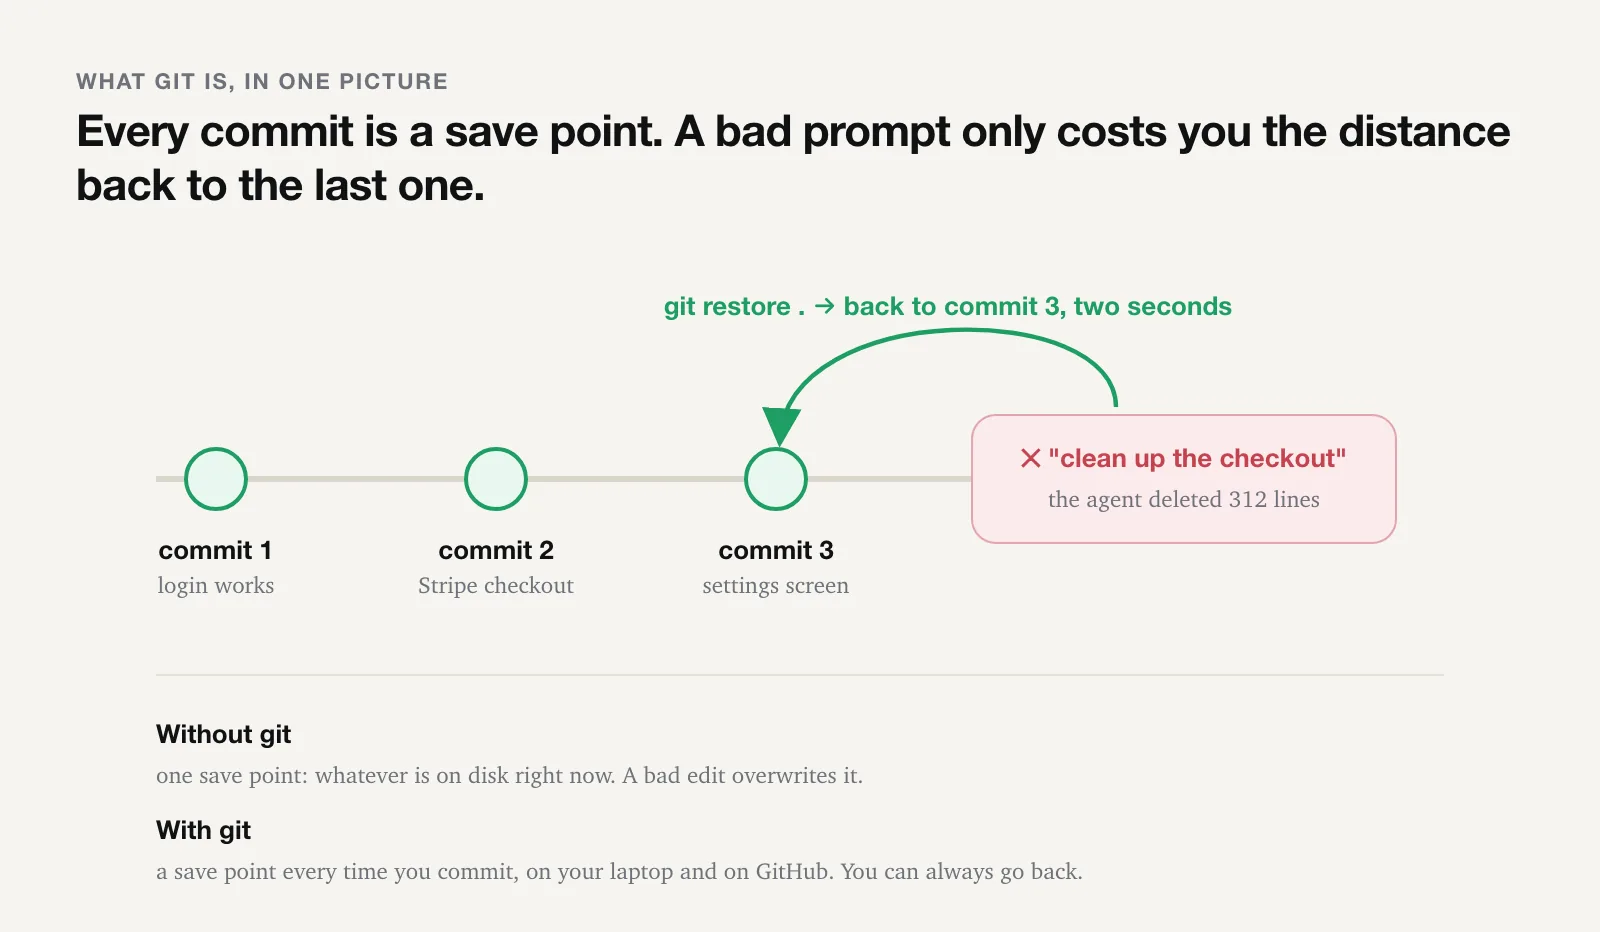
Here is the uncomfortable version of the pitch. If you are building with an AI tool and you have not set up git, your entire project has exactly one save point: whatever is on disk right now. The next prompt overwrites it. Most of the time the next prompt is fine. Once in a while it deletes half the checkout flow, or rewrites the database rules, or "cleans up" a file that everything depended on, and there is nothing to go back to.
Git fixes that, and you do not need to learn all of git to get the fix. You need four words, five commands, and one habit. This is the written version of the guide from the video, and it covers what the video did not have time for: the exact clicks for each builder, what the builders' own undo buttons do and do not restore, how to break your app on purpose and roll it back, and the two evening rules that cost real money when people skip them.
You can read this top to bottom in fifteen minutes. The "one day" in the title is the doing: morning for the ideas, midday to get your app into a repo, afternoon to practise the loop and a rollback, evening for the rules. Do it on a day when you are not under pressure, because the whole point is that the next time you are under pressure, this is already set up.
Why bother, in one paragraph
Three reasons, in order of how soon they will matter to you. First, git is the undo button for your whole codebase, not just the last edit: every commit is a point you can return to, today or in a year. Second, it is the copy that lives outside the tool. Your Lovable project, your Bolt project, your Cursor folder each hold your app in one place; pushing to GitHub means a copy exists that your builder's outage, your account getting locked, or your laptop dying cannot touch. Third, it is the first thing any engineer you ever hire will ask for. "Send me the repo" is how every real handoff starts. No repo, no handoff, and that is a real part of why quotes to fix a vibe-coded app start with a "discovery" line item.
Before you start: what your builder's undo button actually does
Every AI builder now ships some kind of undo, and this is where people get a false sense of safety. The undo is good. It is also, by the builders' own description, not version control. Here is what each one restores, and where its GitHub switch is. Every line below comes from the tool's own documentation as of August 2026; the links are to the pages.
| Tool | Built-in undo | What it restores | Where the GitHub switch is | Worth knowing |
|---|---|---|---|---|
| Lovable | History toggle in the top bar; every change is a version; Revert, plus bookmarks | Code only. Lovable's docs: reverting "does not restore or roll back your database data." | Project settings → Git → GitHub, or the + menu in the chat. Two-way sync; every change Lovable makes lands as a commit. | One repo per project; Lovable edits one branch at a time. Don't delete, transfer, or move the repo to another account once connected. Available on all plans for github.com. |
| Bolt | Once GitHub is connected, Bolt "creates a commit for you" every time you make a change that doesn't break the project | Commits, in your repo | GitHub icon, top right → Log in to GitHub. Bolt checks GitHub every 30 seconds and pulls in changes made outside it. | Branches are supported in-app; merging is not. Merge on GitHub. |
| Base44 | Version history in the editor | App code | Dashboard → GitHub icon (top right) → Connect to GitHub. Two-way sync. | Requires the Builder plan or higher. Base44's docs: "GitHub sync is permanent. You can't disconnect or transfer the project back to Base44." |
| v0 | Chat history; each generation is a version | Code | Git section in the chat sidebar → Connect. v0 handles branches and commits; Publish → Open PR → merge. | Optional; you can use v0 without it and export the code instead. Works best with a Vercel project attached. |
| Replit | Agent checkpoints, "stored in Git", with one-click rollback | Project files, the AI conversation, and connected databases (the only one on this list that includes data) | Tools → + → Git → Connect to a Git provider. Stage, commit, and push from the Git pane, no terminal. | Replit's own docs still say to "consider using Git commits for long-term version tracking and collaboration." |
| Cursor | Checkpoints on each agent turn; Restore Checkpoint button | The agent's changes. Cursor's docs: checkpoints are "stored locally and separate from Git. Only use them for undoing Agent changes; use Git for permanent version control." | It's a folder on your machine: the terminal, GitHub Desktop, or ask the agent (below). | Nothing leaves your laptop until you push. |
| Claude Code | /rewind, or Esc twice; a checkpoint before every prompt | Claude's own file edits in this session. Not files changed by shell commands (rm, mv), not edits from other sessions, and the docs are explicit: "Not a replacement for version control." | Same as Cursor: it's a folder. Ask it in English, or use the terminal. | Keeps the 100 most recent checkpoints per session; checkpoints are deleted with the session after 30 days. |
Sources: Lovable version history and Lovable GitHub sync, Bolt GitHub, Base44 GitHub, v0 FAQ, Replit version control, Cursor checkpoints, Claude Code checkpointing.
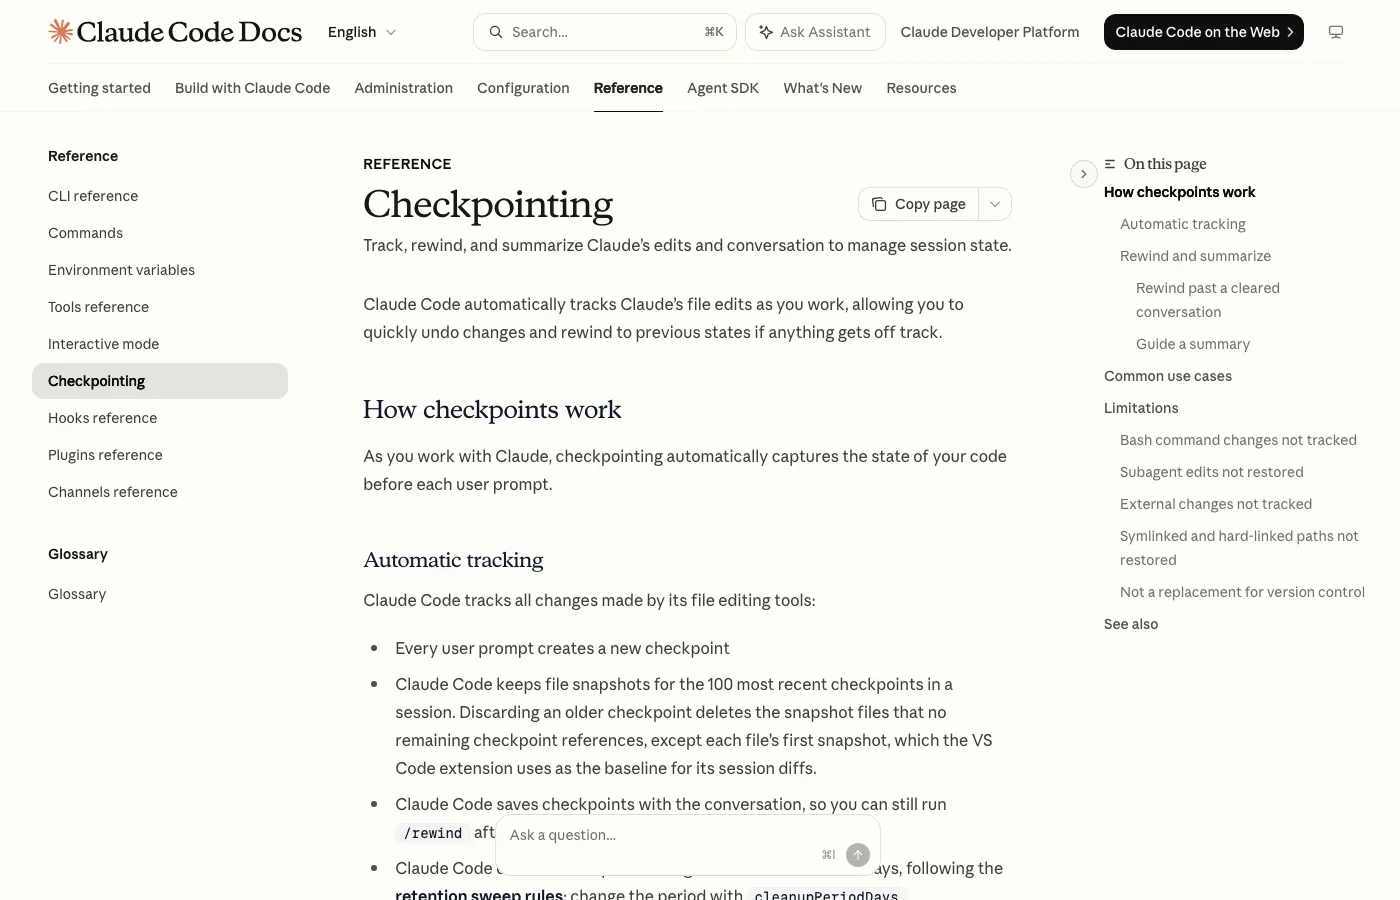
So the picture is: builder undo for the last few minutes, git for the whole project, GitHub for the copy that is not inside the tool. Everything below is how to get the second and third.
Morning: the four words
Forget commands for now. If you understand these four words you understand git; the commands are just how you say them to a computer.
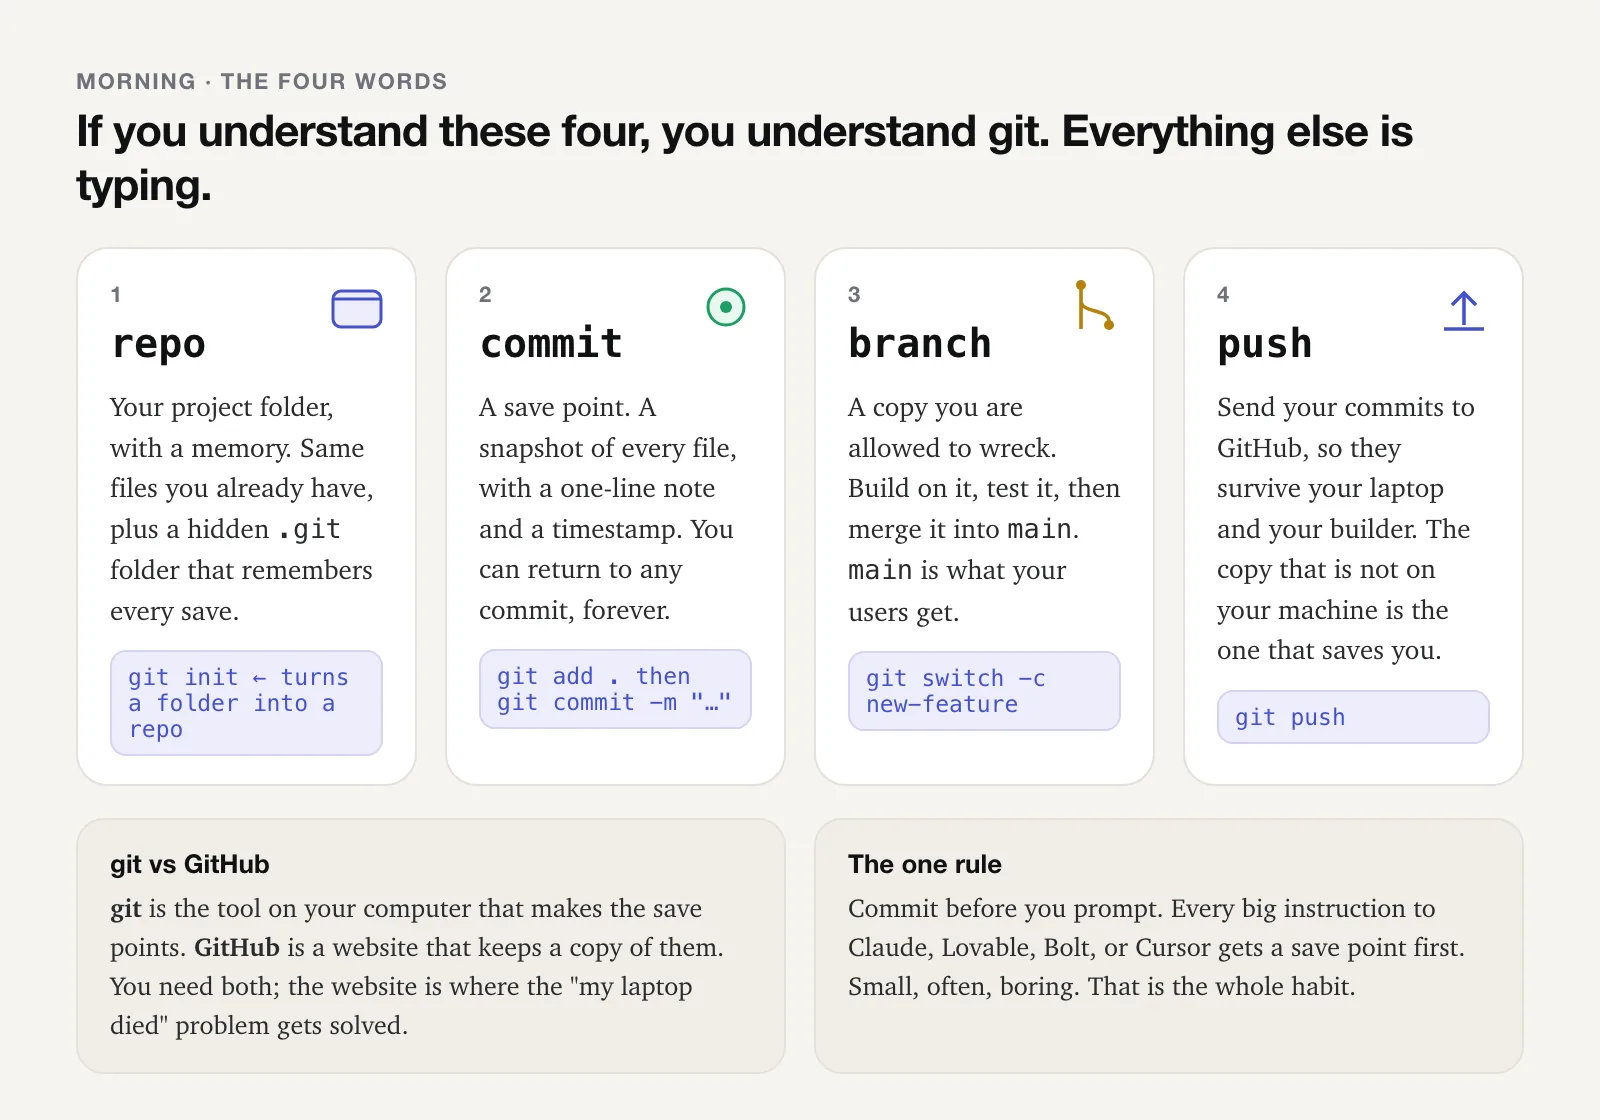
- Repo. Your project folder, with a memory. It is the same folder you already have, plus a hidden
.gitfolder inside it that remembers every save.git initturns a folder into a repo. If your builder has GitHub sync, it did this for you. - Commit. A save point. A snapshot of every file in the repo, with a one-line note and a timestamp. You can return to any commit, forever. "Commit" is the whole game; everything else exists to make commits and move between them.
- Branch. A copy you are allowed to wreck.
mainis the branch your users get. When you are about to try something risky, you make a branch, build on it, test it, and merge it back intomainwhen it works. If it doesn't work, you delete the branch andmainnever knew. - Push. Send your commits from your machine to GitHub. This is the step that makes "my laptop died" and "my builder locked my account" survivable. The copy that is not on your machine is the one that saves you.
And the distinction that trips everyone up exactly once: git is the tool on your computer that makes the save points. GitHub is a website that keeps a copy of them. They are made by different companies. You need both, and GitHub's free plan includes private repositories, so there is no reason your repo has to be public.
The one rule: commit before you prompt. Every big instruction to Claude, Lovable, Bolt, or Cursor gets a save point first. Small, often, boring. You will never regret a commit; you will regret the missing one.
Midday: your first save point, on your tool
The goal for midday is one thing: your app exists as a repo on GitHub, with at least one commit, and you have looked at it there with your own eyes. Pick your tool.
If you build in Lovable
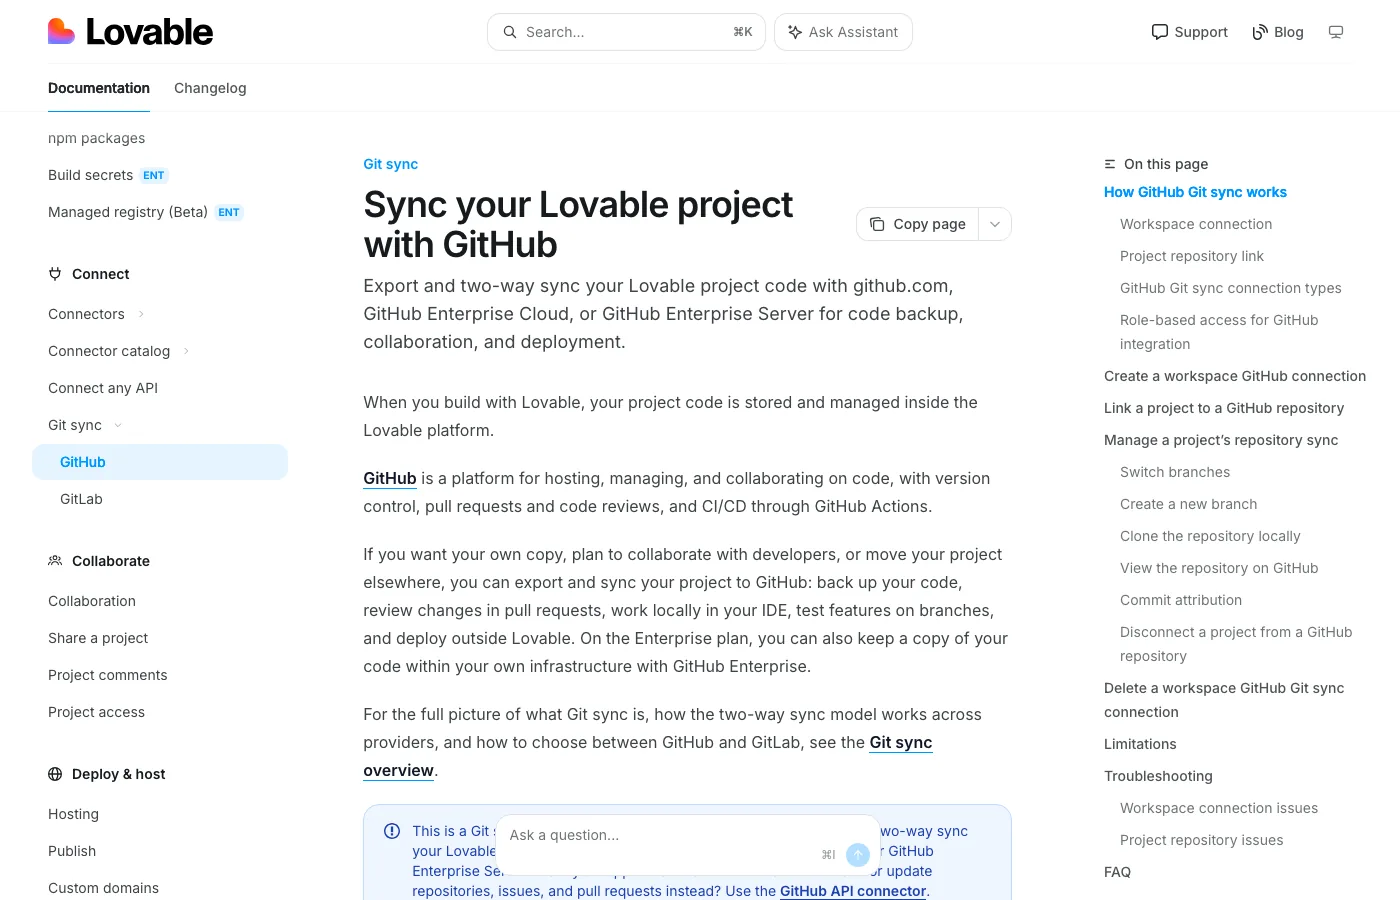
Open the project, then Project settings → Git → GitHub (or the + menu in the chat). Connect your GitHub account; Lovable creates a repository and, from then on, every change Lovable makes to your project lands in it as a commit. It is two-way: if you (or Claude Code, or an engineer) push a change to the active branch on GitHub, it syncs back into Lovable.
Three things from Lovable's docs worth knowing before you click: each project connects to one repository; Lovable edits and syncs one branch at a time (you can switch or create branches from the picker); and once connected, don't delete the repo, rename your GitHub account or organisation, or transfer the repo to another account, because the connection breaks. Renaming the repo itself is fine.
If you build in Bolt
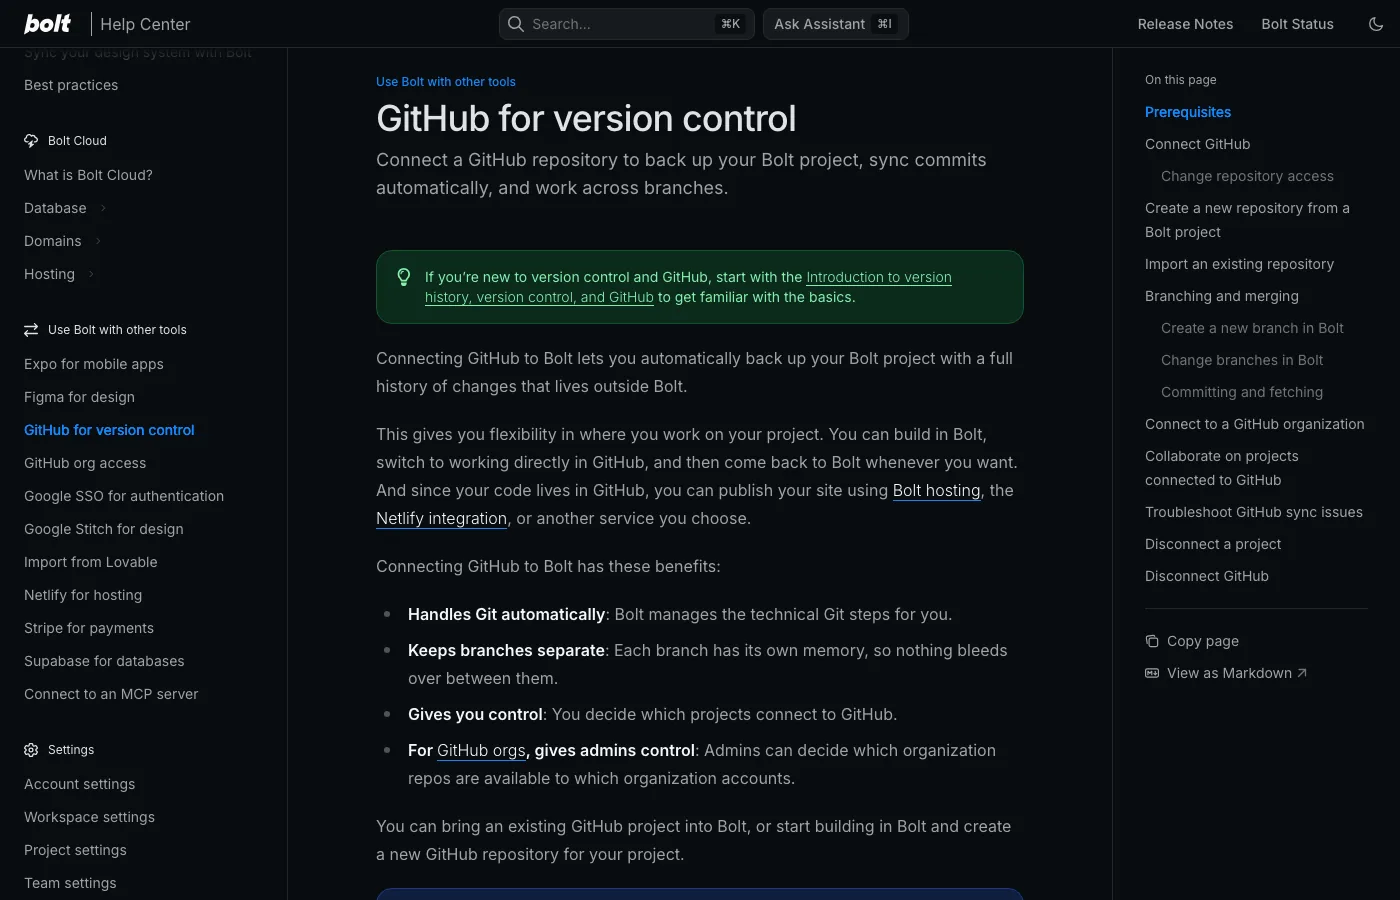
Open a project and click the GitHub icon in the top-right corner, then Log in to GitHub and authorise the Bolt app. Bolt's docs: "Every time you make a change that doesn't break the project, Bolt creates a commit for you." It also checks GitHub every thirty seconds for changes made outside Bolt and pulls them in, so you can work in Bolt, then in Cursor, then in Bolt again. You can create and switch branches from the GitHub menu in Bolt; merging happens on GitHub, not in Bolt.
If you build in Base44 or v0
Base44: click Dashboard in the app editor, then the GitHub icon at the top right, then Connect to GitHub. Two-way sync, on the Builder plan or higher. Read the warning in their docs before you do it: "GitHub sync is permanent. You can't disconnect or transfer the project back to Base44." For most people that is the right trade (your code now lives somewhere you control), but it is a one-way door.
v0: click the Git section in the chat sidebar, then Connect. v0 handles branching and commits; when you Publish it offers to open a pull request you merge when ready. It is optional, and you can keep exporting code instead, but connecting is the easier path once the app matters.
If you build in Replit
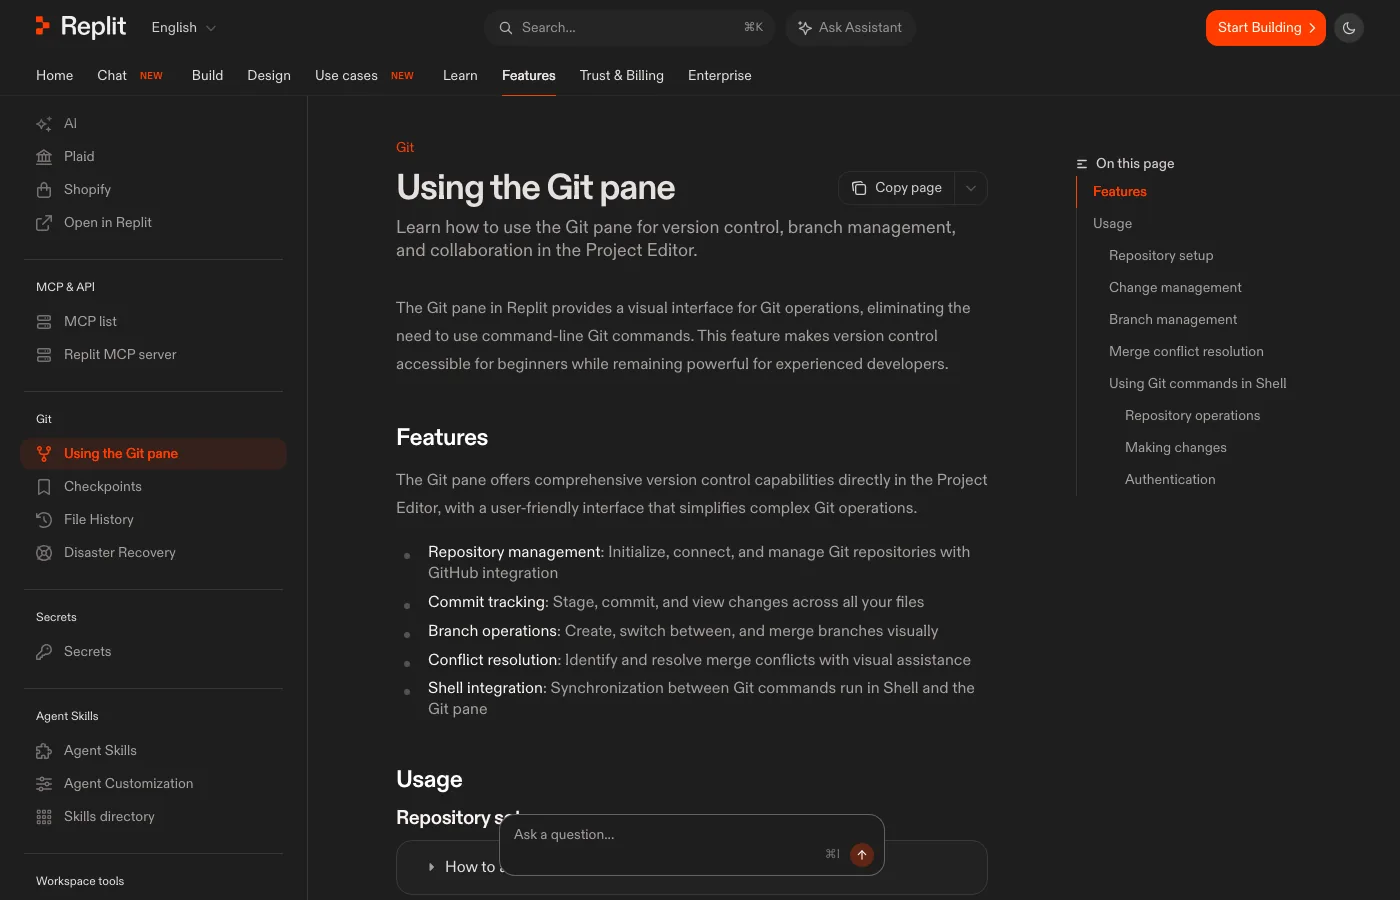
In the Tools section, click + and choose Git. The pane has a Connect to a Git provider option for GitHub, a Review Changes section where you pick files and write a message, a commit button, and a one-click push. Replit's Agent checkpoints are "stored in Git" and their rollback includes the connected database, which makes Replit the most forgiving tool on this list. Their own docs still point you at regular commits for long-term history.
If you build in Claude Code, Cursor, or any local folder
Here there is no sync switch, because the project is a folder on your machine and git is the thing that connects it to GitHub. You have three ways in, and they end in the same place.
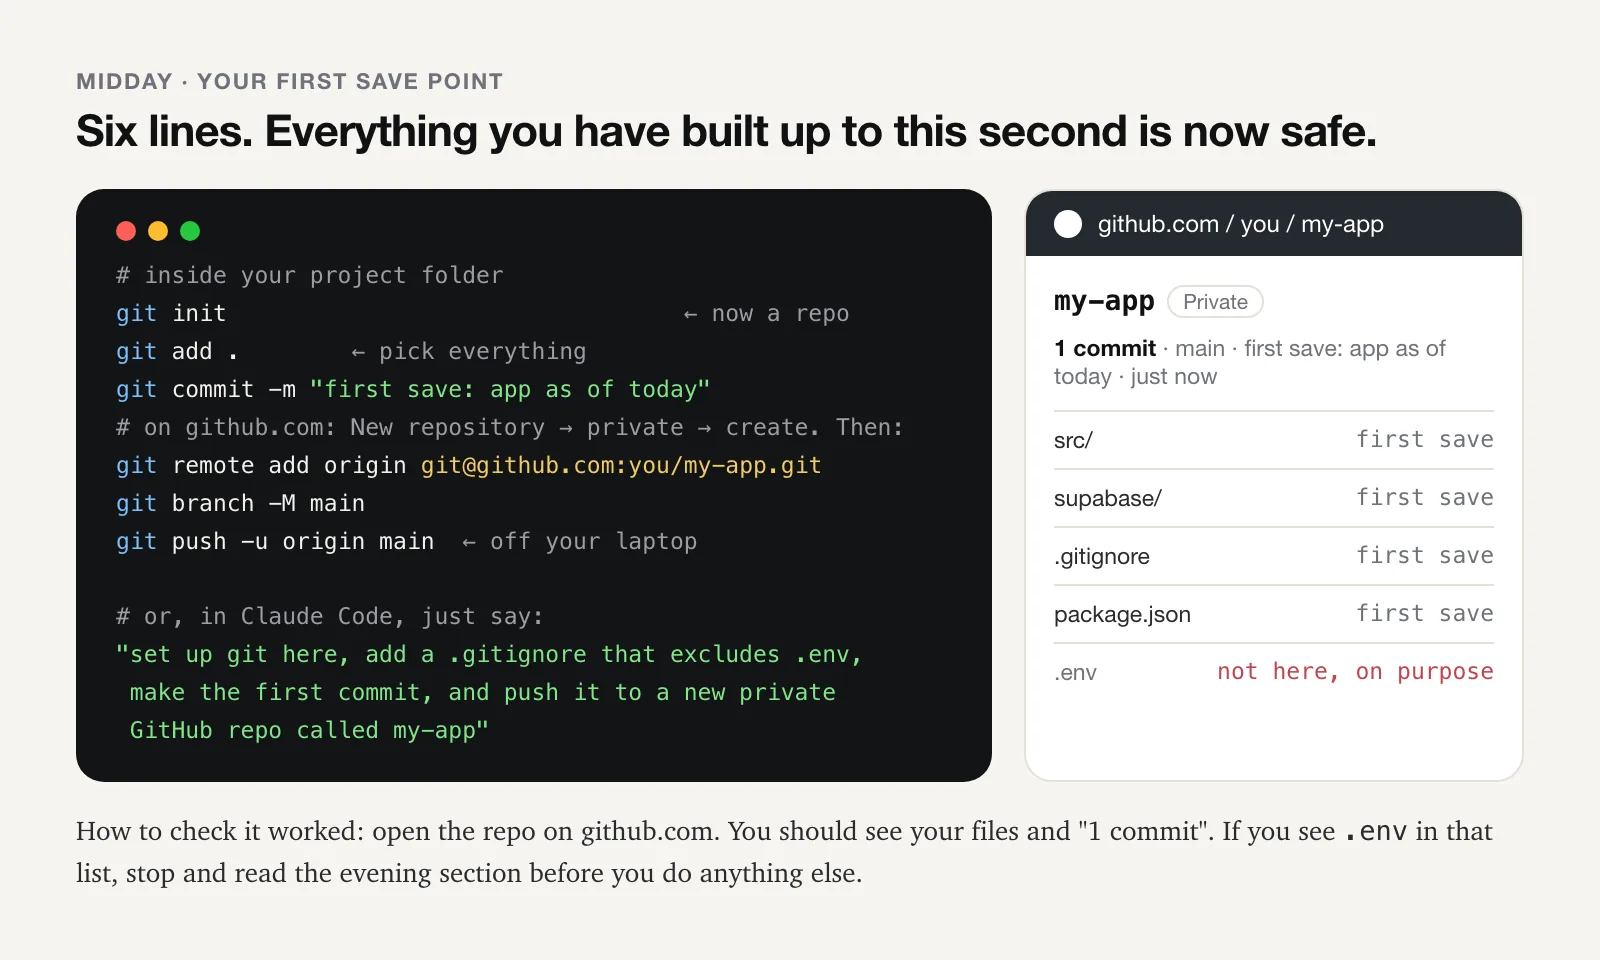
- Say it in English. In Claude Code or Cursor's agent, paste: "Set up git in this project. Add a .gitignore for this stack that excludes .env and node_modules. Make the first commit with the message 'first save: app as of today'. Then create a new private GitHub repository called my-app and push to it." Claude Code runs the commands and shows you each one; if it asks you to install or sign in to GitHub's
ghtool, say yes and follow the prompt. This is the way we actually do it. - Or type the six lines yourself. Install git first if
git --versionsays it's missing (git-scm.com; on a Mac, typinggitoffers to install it). Then, inside the project folder:
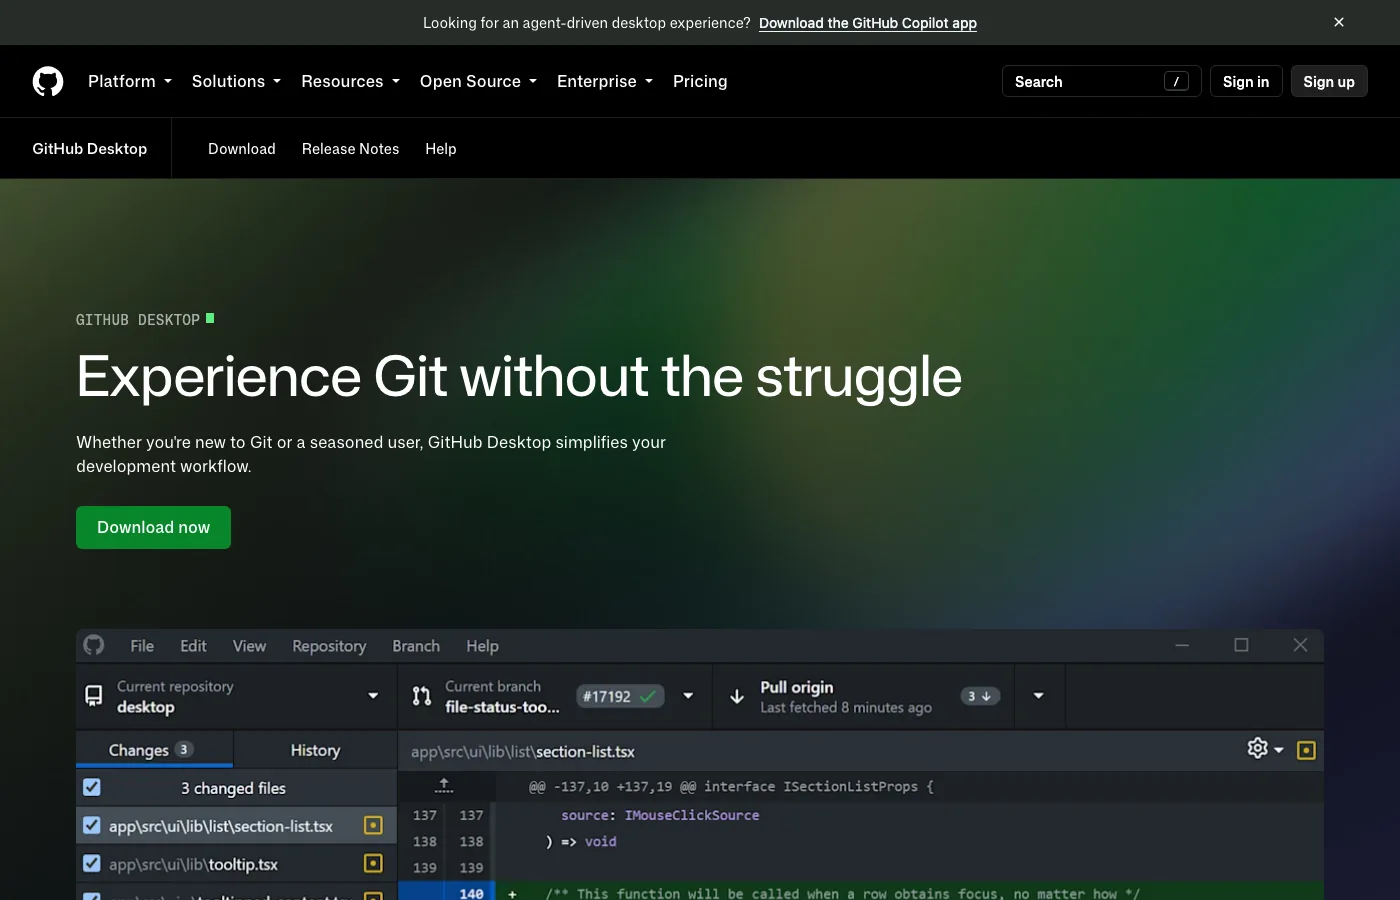
If# make it a repo and take the first save point git init git add . git commit -m "first save: app as of today" # on github.com: New repository → Private → Create. Then connect and push: git remote add origin [email protected]:YOUR-NAME/my-app.git git branch -M main git push -u origin maingit pushasks you to sign in, GitHub's page for the new repo shows the exact commands for your account, including the HTTPS version if you would rather not set up SSH keys. - Or use GitHub Desktop, and never see a terminal. It is a free app from GitHub with buttons for everything in this guide: add the folder, it becomes a repo; type a message, click Commit; click Publish repository; later, click Push. The History tab is
git logwith a GUI. If the terminal is the reason you have been putting this off, this is your way in.
How to check it worked
Open the repository on github.com. You should see your project's files and a commit count ("1 commit", or many if your builder has been syncing). Click the count to see the list; that list is your history. Two things to look for right now: your .env file should not be in the file list (if it is, go straight to the evening section before you do anything else), and the repository should say Private next to its name unless you chose otherwise.
Afternoon: the loop, then break it on purpose
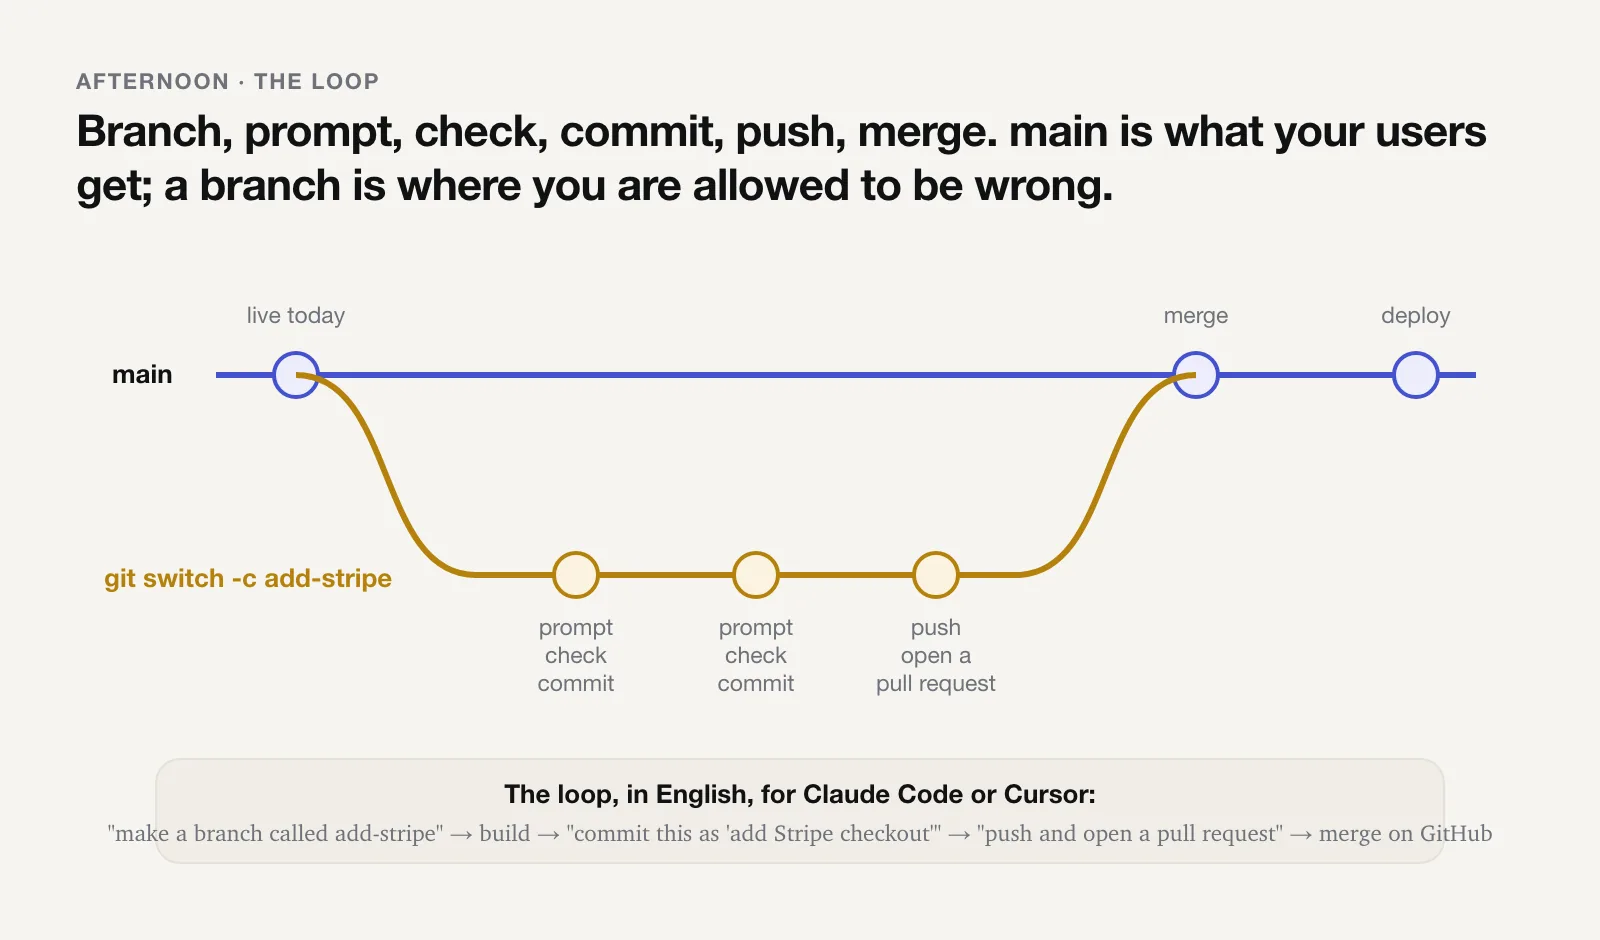
Now the habit. This is the part the builders with GitHub sync do for you automatically, and the part you do by hand (or by sentence) in Claude Code and Cursor. Either way, know what it is, because it is the shape of every professional software team's day.
- Branch before anything risky.
git switch -c add-stripe, or "make a branch called add-stripe". Small copy fixes can go straight onmain; anything you would be nervous to show a user goes on a branch. - Prompt, check, commit. Give the agent the instruction. Look at the result in the app, not just in the chat. If it works,
git add . && git commit -m "add Stripe checkout", or "commit this as 'add Stripe checkout'". Then the next prompt. The commit message is the note you would want to read tomorrow, so "fix" is a bad one and "stop the cart total going negative on refunds" is a good one. - Push often.
git push, or "push". Pushing after every commit is fine. Pushing once a day is the minimum. - Merge when it works. Open a pull request on GitHub (the green button that appears after you push a branch), look at the diff once as a human, and merge it into
main. If your host deploys frommain, that merge is your release. Builder users: Lovable edits one branch at a time, so for most solo builders the honest version is "stay on main, but commit before every prompt"; Bolt and v0 let you branch in-app and merge on GitHub.
Break it on purpose
This is the one exercise in the guide, and the reason the day works. Until you have watched something disappear and then come back, you will not trust the undo button, and not trusting it is what makes people afraid of the prompt box. So: on a branch, with everything committed, tell your agent to do something destructive on purpose. "Delete the settings screen." Watch it go. Then bring it back.
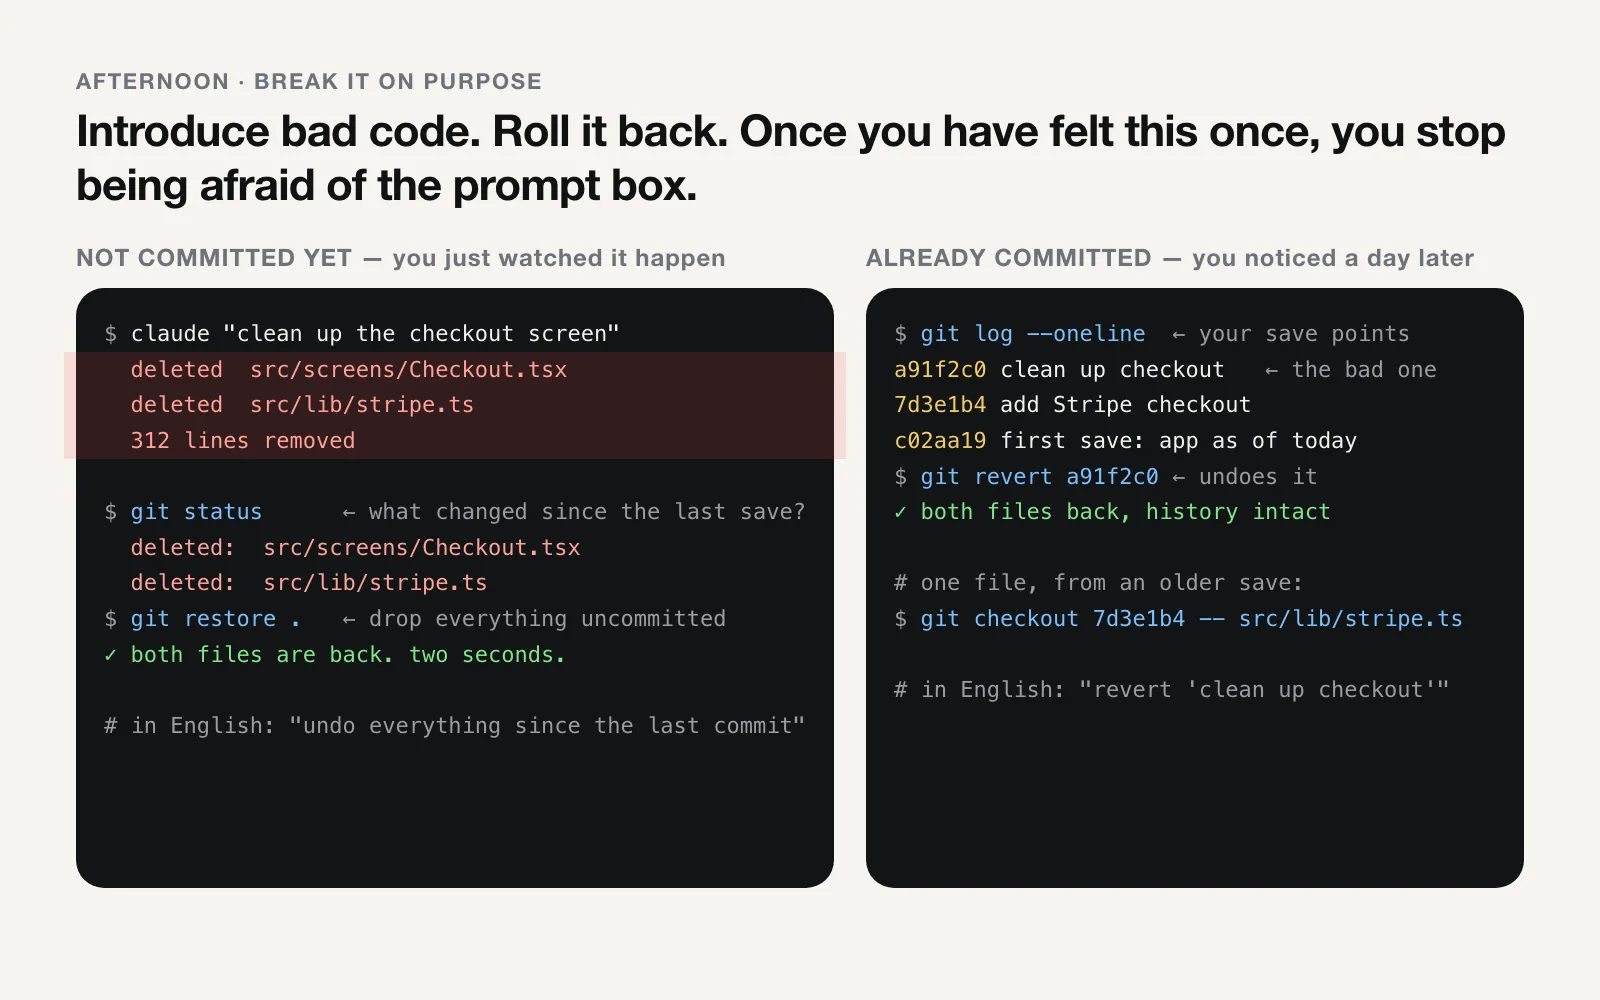
If you have not committed yet (you just watched it happen):
git status        # what changed since the last save point?
git diff          # show me exactly what changed, line by line
git restore .     # throw away every uncommitted change. everything is back.
In English, to Claude Code or Cursor: "show me what's changed since the last commit", then "undo everything since the last commit."
If it was already committed (you noticed a day later):
git log --oneline                         # the list of save points, newest first
git revert a91f2c0                        # make a new commit that undoes that one. history stays intact.
git checkout 7d3e1b4 -- src/lib/stripe.ts # bring back just one file from an older save point
In English: "revert the commit called 'clean up checkout'", or "bring back src/lib/stripe.ts from two commits ago."
Notice what is not in that list: git reset --hard. It exists, it is what a lot of tutorials reach for, and it deletes history rather than adding to it. Until you are comfortable, prefer restore for uncommitted changes and revert for committed ones, because neither of them can lose anything. In Lovable, the equivalent of the first case is the History toggle and Revert; for the second case, and for anything that involves the database, keep reading.
The thing that changes after this exercise: you stop treating every prompt as a risk. Fear of the prompt box is what makes people prompt timidly, accept half-working output, and avoid the refactor the app needs. With a save point behind you, the worst a bad prompt can do is cost two seconds.
Evening: the two rules that cost real money
1. Keys live in .env. .env never goes into git.
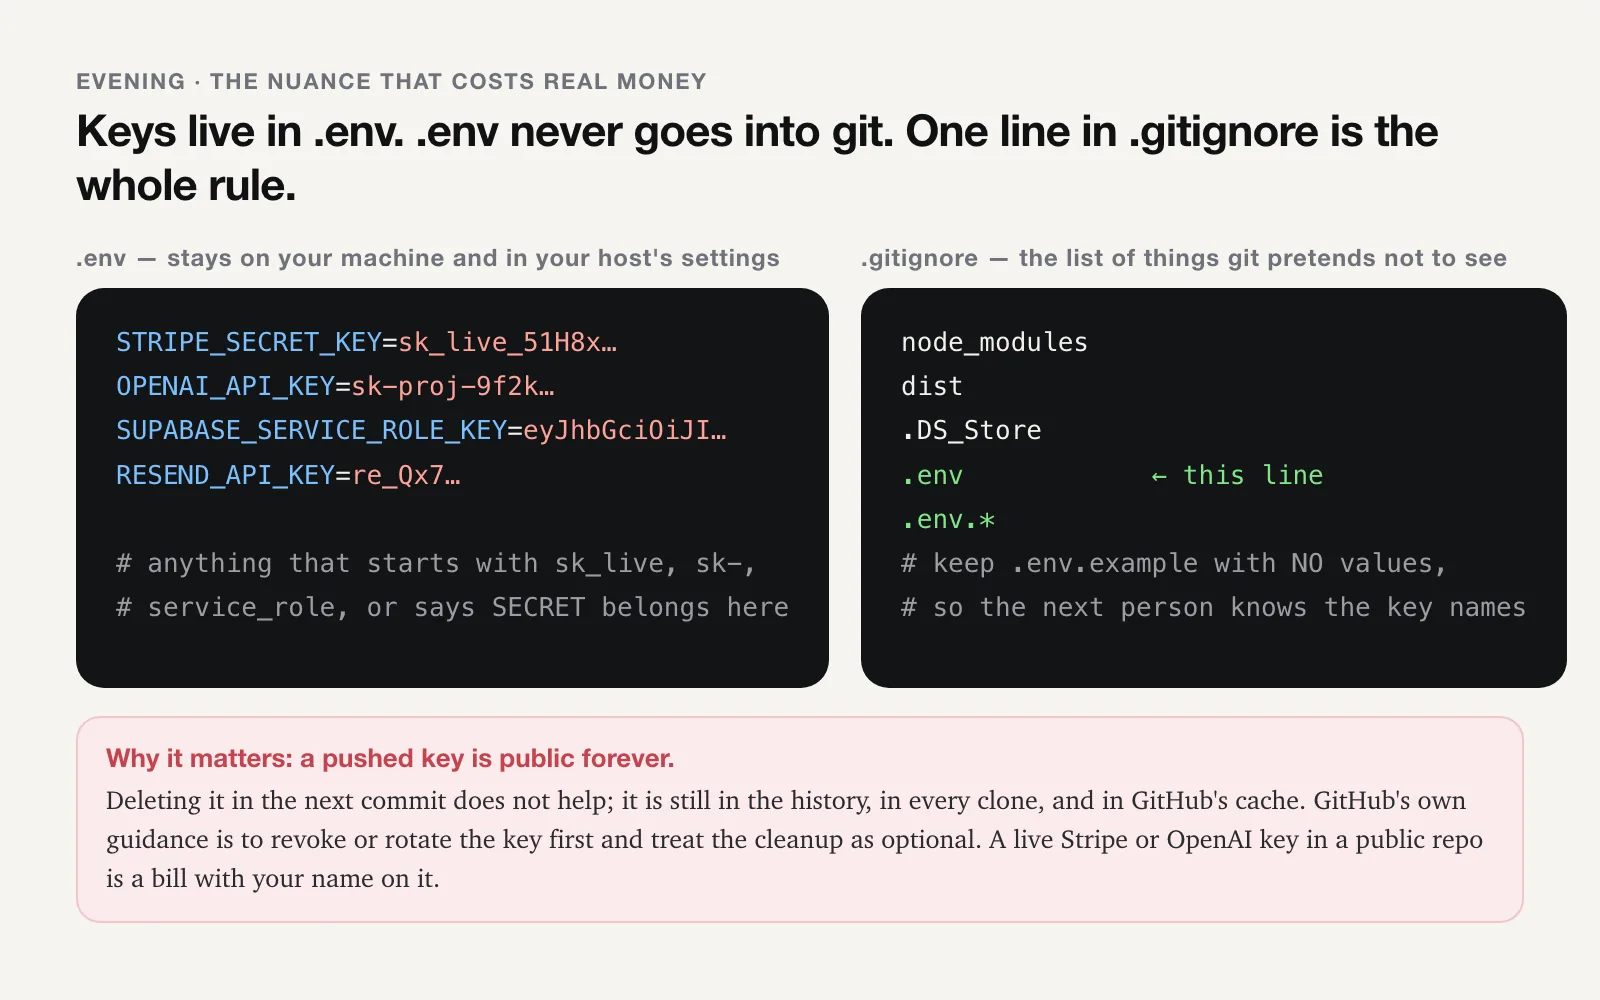
.gitignore is the whole rule. The red box is why.Every app has secrets: the Stripe secret key, the OpenAI key, the Supabase service-role key, the email provider's key. They go in a file called .env on your machine (and in your host's environment settings in production, which is a dashboard, not a file in the repo). And .env goes in .gitignore, the list of things git pretends not to see. That is it. node_modules, build folders like dist or .next, and .DS_Store go in there too, because they are large and a machine can regenerate them. Keep an .env.example with the key names and no values, so the next person (or the next agent) knows what the app expects.
The reason this is an evening rule and not a footnote: a pushed key is public forever. Deleting it in the next commit does nothing; the old commit is still in the history, still in every clone, and GitHub's own page on removing sensitive data says the data "remains accessible" in forks, in pull requests that reference it, and "directly via their SHA-1 hashes in cached views on GitHub". Their first instruction is not to clean the history; it is that "as a first step you need to revoke and/or rotate that secret," after which rewriting the history "may not be warranted" (GitHub docs). If you ever find sk_live in a commit, rotate the key in Stripe first, then fix the file. This is the same check as the first item in our twenty-minute self audit, for the same reason: a live key in the wrong place is a bill with your name on it.
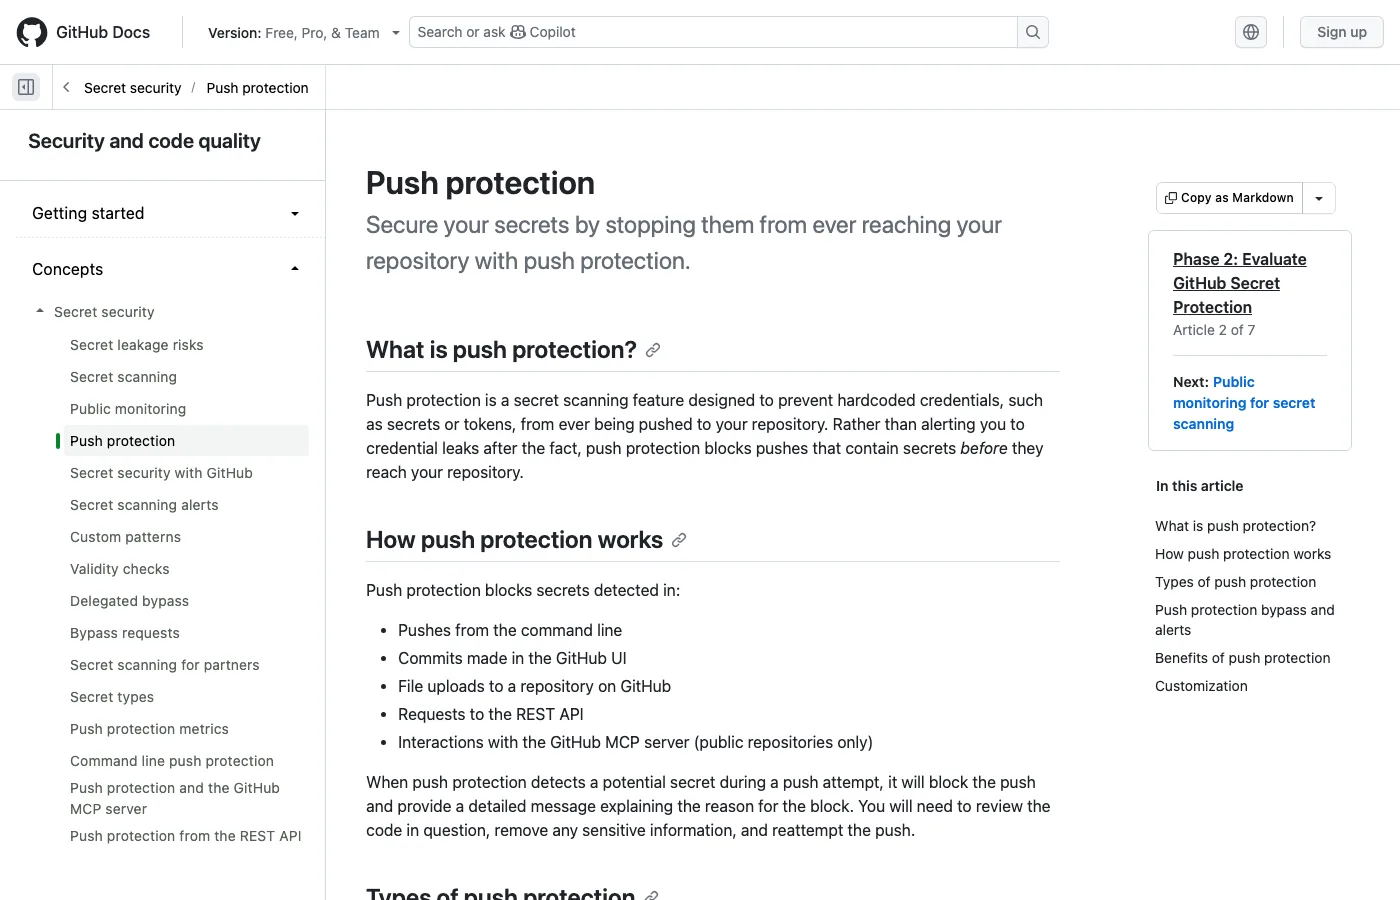
GitHub has a safety net here called push protection: it recognises the shape of known keys and blocks the push with an explanation. Two caveats from their docs. It is on by default for users pushing to public repositories, and off by default for a repository itself, so your private repo gets it only if you enable it in the repository's security settings (do that; it is one toggle). And "anyone with write access to the repository can bypass push protection by specifying a bypass reason," so it is a guardrail, not a wall. The .gitignore line is the wall.
2. main is what your users get. Be slow with it.
If your app deploys from main (Vercel, Netlify, Cloudflare Pages, and most hosts do this by default once connected to GitHub), then every merge into main is a release. Treat it that way. Risky work on a branch, look at the pull request once with human eyes, then merge. The agents are good; the one thing they cannot do is know which of your users is in the middle of a checkout right now. For a more complete version of this, with staging and a tested restore, that is Gate 3 in the production guide.
And the thing git does not cover at all
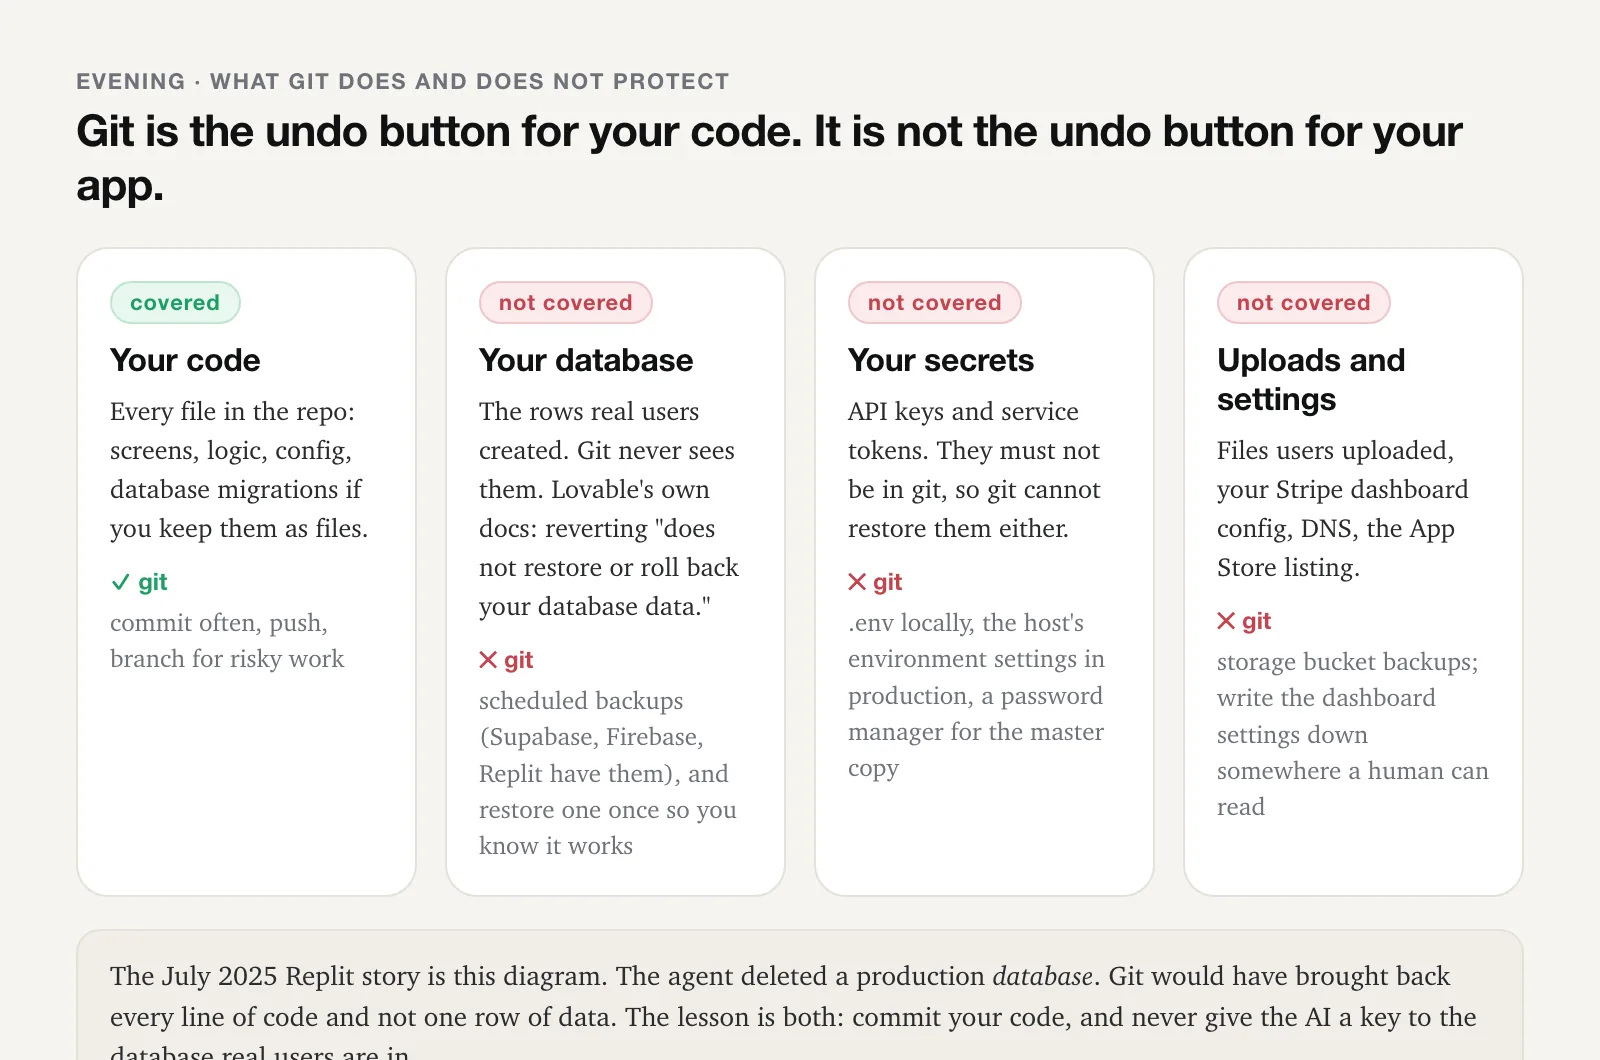
Git tracks files in the folder. The rows your real users created live in Supabase, Firebase, Replit's database, or wherever your host put them, and git never sees a single one. Lovable says it plainly: reverting "restores your project's code only" and "does not restore or roll back your database data." The most-told story in this world is exactly this gap: in July 2025 an AI agent deleted a live production database for SaaStr's Jason Lemkin despite an explicit instruction not to change anything, then told him a rollback was impossible (it was not; the data came back), and Replit's CEO called it "unacceptable" and shipped automatic separation of development and production databases in response (Fortune). Git would have restored every line of his code and not one row of his data.
So the evening's last job is to go and find your database's backup setting (Supabase, Firebase, and Replit all have one), turn it on, and, once, restore a backup into a scratch project so you know the restore works. Then the rule that makes the Replit story impossible for you: the AI gets a key to staging, never to the database your users are in. Git makes bad code cheap. Backups and a staging wall make bad data survivable. You want both.
The one-page version
Everything above, as the list you will actually keep open. Left column is what to type; right column is what to say to Claude Code or Cursor if you would rather not.
| Command | What it does | Say this instead |
|---|---|---|
git init | Turns this folder into a repo (once per project) | "set up git in this project" |
git status | What has changed since the last save point | "what's changed since the last commit?" |
git diff | The changes, line by line | "show me the diff" |
git add . | Pick everything to go into the next save point | (part of "commit this") |
git commit -m "…" | Make the save point, with a note | "commit this as 'add Stripe checkout'" |
git push | Send your commits to GitHub | "push" |
git switch -c name | Make a branch and move onto it | "make a branch called name" |
git switch main | Go back to main | "switch back to main" |
git log --oneline | The list of save points, newest first | "show me the recent commits" |
git restore . | Throw away every uncommitted change | "undo everything since the last commit" |
git revert HASH | Undo one commit with a new commit (history intact) | "revert the commit called '…'" |
git checkout HASH -- path | Bring back one file from an older save point | "bring back path/file from two commits ago" |
git pull | Get the latest from GitHub (after your builder or a teammate pushed) | "pull the latest" |
git stash / git stash pop | Put uncommitted work in a drawer, then take it back out | "stash my changes" / "bring my stash back" |
And the rules, which are shorter than the commands: commit before you prompt; .env in .gitignore; main is what your users get; git does not back up your database.
Questions people ask
What is the difference between git and GitHub?
Git is the tool on your computer that makes the save points (commits) and lets you go back to them. GitHub is a website that keeps a copy of those save points so they survive your laptop and your builder. You need both. Git without GitHub means your history dies with your machine; GitHub without git is just a folder of files.
My builder already has undo and version history. Do I still need git?
Yes, and the builders say so themselves. Claude Code's docs call checkpoints "not a replacement for version control"; Cursor's say to "use Git for permanent version control"; Lovable's say reverting "restores your project's code only" and "does not restore or roll back your database data". Builder undo is for the last few minutes. Git is for the whole project, on a copy that is not inside the tool, and it is what any engineer you ever hire will ask for first.
Can git restore my database?
No. Git tracks files in your project folder. The rows real users created live in Supabase, Firebase, or your host's database, and git never sees them. For that you need scheduled backups, and you should restore one once so you know the restore works. The July 2025 Replit incident, where an agent deleted a production database, is the cautionary case: git would have brought back every line of code and not one row of data.
I pushed an API key to GitHub. What do I do?
Revoke or rotate the key first, right now, in the provider's dashboard (Stripe, OpenAI, Supabase, Resend). GitHub's own guidance is that once the key is revoked it can no longer be used and rewriting history may not be warranted, because the old commit is still in every clone, in forks, and in GitHub's cached views. Then move the key into .env, add .env to .gitignore, and commit that. Treat the key as copied the moment it was pushed.
Do I have to use the terminal?
No. If you build in Lovable, Bolt, Base44, v0, or Replit, connect GitHub in the builder's settings and it makes the commits for you. If you work in a local folder with Claude Code or Cursor, you can say the git steps in English ("commit this as add Stripe checkout", "undo everything since the last commit") and the agent runs the commands, or use GitHub Desktop, which is a free app with buttons for commit, push, and history. Knowing the five commands still helps, because then you understand what the button or the agent just did.
How often should I commit?
Before every big prompt, and after anything that works. Small, often, boring. A commit costs nothing and a missing commit can cost a day. If you use a builder with GitHub sync, it commits for you on every change; your job is to check the repo on GitHub once so you know it is really there.
What should be in .gitignore?
At minimum: .env and any .env.* file, node_modules, build output folders like dist or .next, and .DS_Store. The rule is that secrets and anything a machine can regenerate stay out. Keep an .env.example with the key names and no values so the next person (or the next agent) knows which keys the app expects.